Classic gingerbread houses with old-fashioned Christmas decorations and designs
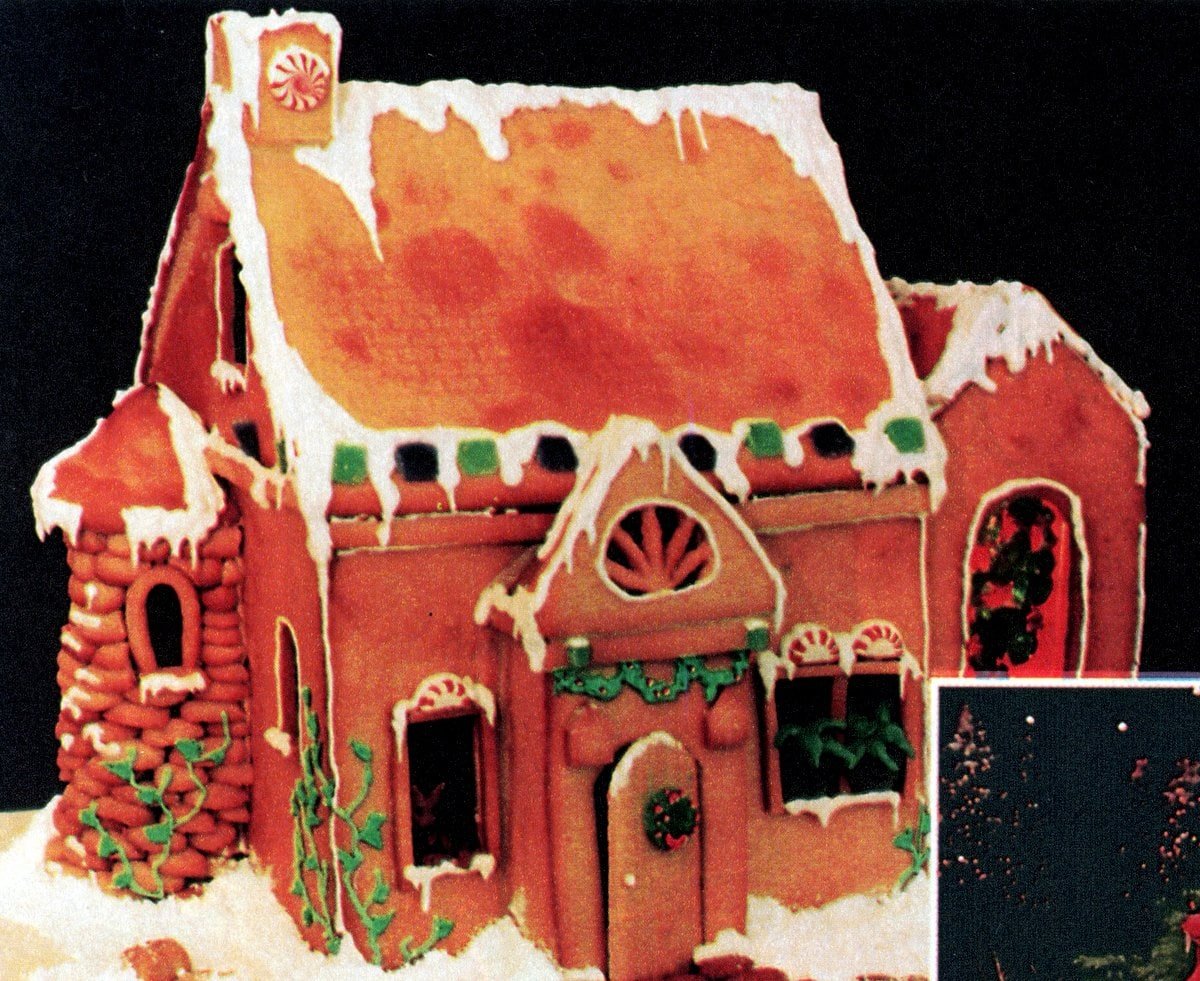
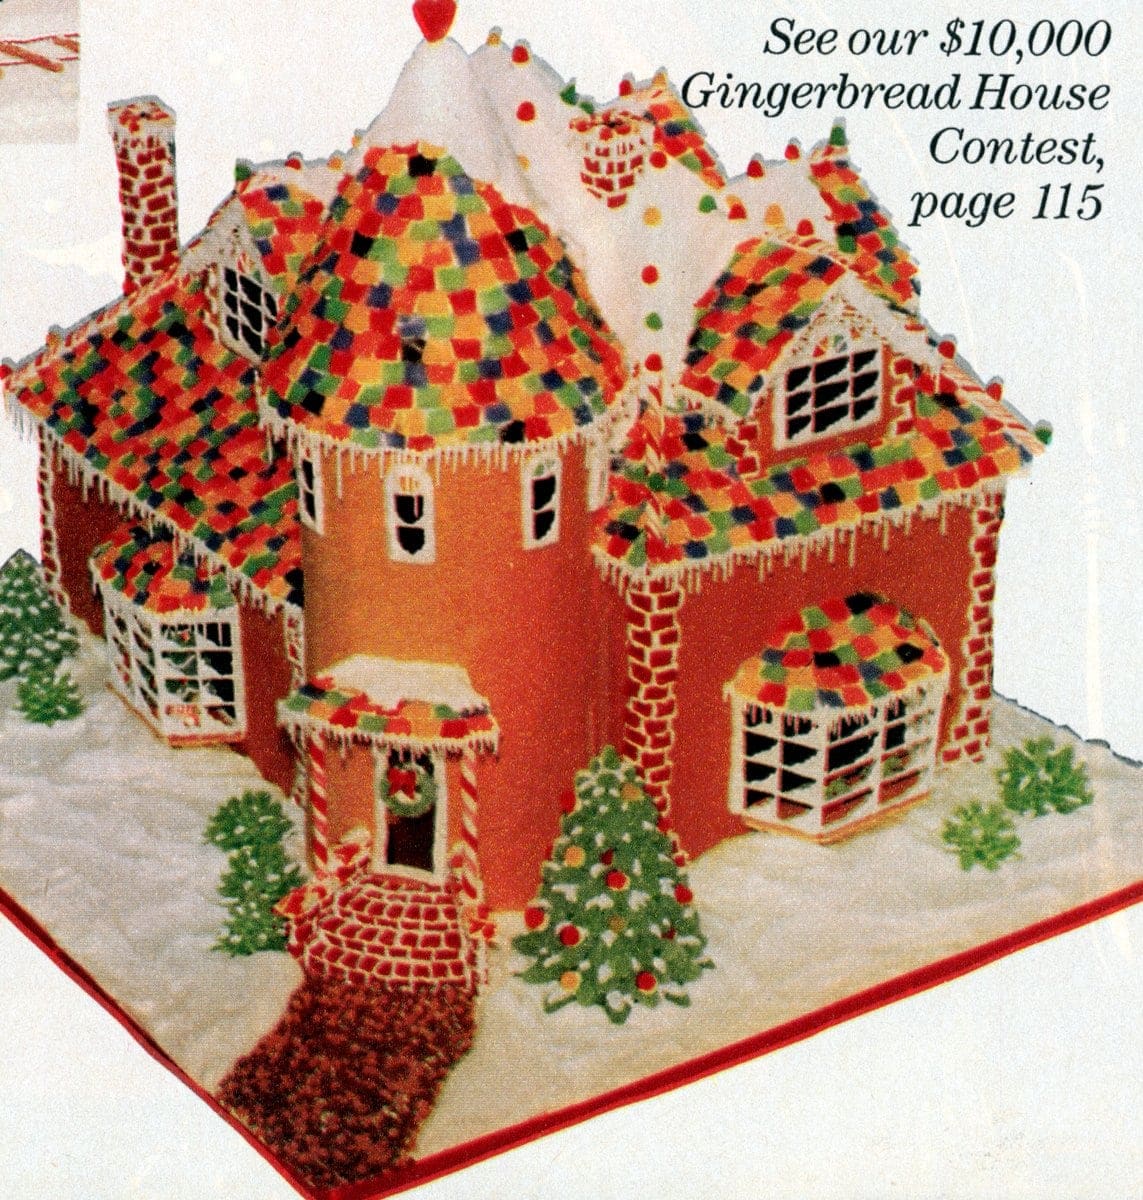
For the merriest of holidays, here is a collection of gingerbread houses to inspire you. Make a fairy-tale cottage, a half-timbered country house, a marvelous Victorian mansion — take your pick!
There’s absolutely nothing more fun to make, with all hands pitching in and the spicy smell of Christmas in the air.
Vintage gingerbread cookie house: Hansel and Gretel cottage (1980s)


Christmas carpenters: Some hard-learned tips for building a gingerbread house for your holiday (1988)
From the Santa Maria Times (Santa Maria, California) December 7, 1988
Nibble, nibble like a mouse. Who is nibbling at my house? It’s likely to be a child if there’s a gingerbread house around.
As Hansel and Gretel — and hosts of children since — have discovered, there is nothing more irresistible than a house of candy. Children aren’t the only ones enchanted by the colorful sight of a roof of cinnamon candies, walls of gingerbread and the gumdrops, licorice sticks, candy canes and sprinkles that make the house complete.
Don’t be misled by the dramatic displays of confectionery creativity found this time of year in women’s magazines. Color photographs to the contrary, gingerbread houses aren’t necessarily lavish extravaganzas.

At their very best, they are a child’s creation, the sum of the season’s colors, scents and flavors. Not only the reds and greens and citrus lemons, but the chocolates, cherries and peppermints that shout “holiday.”
What’s breathtaking to a child isn’t the number of stories, gables or porticos on a gingerbread house. It’s the amount – and diversity – of the tempting confections.
Gingerbread-house building is not for the weak of spirit. (For who among us least of all the children – can resist the temptations of mountains of candy?) Nor is it for the impatient or the obsessively neat. To build the house takes time and patience.

The best results occur when it’s a three-day process. This allows for the drying times that are critical in assuring a firm foundation. (Unless the house is very dry when the candy is added, the house will collapse, as a startled novice recently discovered.)
And as for neatness, well, that’s not inherent to this project. The icing can only be prepared in small batches, which means there’s a flurry of powdered sugar every time a new batch is made (which could easily be half a dozen times).
The icing is very sticky, hence its usefulness as the “glue” that holds the house together. When it is dry, the frosting is extremely brittle and crumbly and, inevitably, underfoot. So expect a kitchen with icing everywhere. (Think of it as snow flurries. It may make it easier to shovel out the kitchen.)

How to make a gingerbread house: Materials and equipment you will need
BASE: A base for the house heavy enough to withstand several pounds of weight. There are many alternatives, including plywood, a sturdy tray or cookie sheet, plastic foam that is 1 to 1-1/2 inches thick, a wooden bread or cutting board or acrylic cutting board.
Whatever base is used, be sure it is quite a bit larger than the actual house, so the decorating can include the exterior landscape, the trees, people and yard that make the house seem complete.

GINGERBREAD: A recipe for gingerbread dough (one follows)
ICING: Sufficient ingredients for several batches of Royal Icing (recipe follows). You will probably go through more than five batches to complete the house and surroundings.
CANDY: Candy galore. Some possibilities include: cinnamon candies, M&Ms, jelly beans, yogurt-covered raisins, peppermints, gumdrops, licorice bits, candied fruit slices, candy corn, spearmint leaves and Life Savers. [Modern-day additions: Gummy bears, gummy worms, chocolate kisses (all kinds!), Starburst, Skittles, Mike & Ikes]
OTHER DECORATIONS: Flaked or shredded coconut works well for snow. Some commercial cookies will also work, such as vanilla wafers or Lorna Doones on a roof. Don’t forget the sprinkles, silver dragees and chopped nuts from the baking shelves. Have enough candy for nibbling.

DECORATING BAG FOR ICING: A decorating bag, also called a pastry or forcing bag, as well as at least two tips for decorating.
If this is the first time you’ve used a decorating bag, the disposable kits may be a good bet (they come with decorating tips). The directions are on the package. You’ll need a larger star tip to do the “gluing,” and a small round tip for making thin outlines.
A PLAN OR DESIGN FOR THE HOUSE YOU WANT: Certainly not least is the design for the gingerbread house. I used two versions with children and both were successful. One was a $6 set of gingerbread house cookie cutters. I also used a cast iron pan mold found at some kitchen and gift shops.
The cast iron mold includes two versions of a gingerbread house: a log cabin and a Victorian-style house. The kit includes decorating bags and tips. The advantage of the mold is that the dough is pressed into the cast iron and no dough needs to be rolled out, which makes it easier for children to participate.

EASIER OPTIONS: For the timid and the busy, there are prebaked pieces ready for assembly at some bakeries. The ready-to-decorate kit includes everything but the candy. Patterns are also available in many books, as well as sold individually at stores with cake decorating supplies.
For the first effort, though, keep the project simple. A basic house is made from two rectangular sides, two rectangular roofs, and two ends that look like a rectangle with a triangle on the top.

Starting to build your gingerbread house
Children and three-day projects are not often compatible. It may be easier to do the basic construction work before the youngsters get their hands on the activity. Bake the gingerbread pieces one day, letting them dry overnight. The gingerbread is easier to handle once it has become firmer.
Or try using graham crackers instead of gingerbread pieces. The crackers are easier for young children to handle. It’s also a good way for anyone to practice using a decorating bag and putting together the pieces. (It’s not a bad idea to try a sample house first with graham crackers before proceeding to the gingerbread pieces.)
On the second day, put together only the four walls of the gingerbread house and let the icing dry overnight. This assures that adding the roof will not cause the walls to fall apart like a house of cards (another finding by an increasingly frustrated novice).

Using a large star tip in the pastry bag, pipe icing along the two outside edges of the house walls. Put the pieces together all at once to form the four-sided building. Pipe additional icing on the inside joints of the house, as well as the outside joints.
On the third day, build the roof by piping icing around the top perimeter of the house. Place the roof pieces in position, making contact with the icing and gently squeeze together. Run a thick strip of icing down the center of the roof where the two pieces meet.
Let the roof dry for at least 45 minutes before beginning with the candy trim. This will assure that the roof is firm enough to hold the weight of candy. Or… what else? The roof will cave in (yes, this too was recently discovered by a thoroughly disheartened novice who wondered why anyone in their right mind would tackle a project like this).

Then the fun begins, for both children and disheartened builders alike. It’s time for the candy. Wherever you want to decorate, pipe tha icing and gently position the candy. Icing can also be smoothed on the base of the house with a knife. But not too smooth. Remember the snow drifts.
Above all, remember, frosting hides a lot of imperfections. Gingerbread walls a little crooked? Just pipe on a little extra icing.
Once complete, was it worth the effort? Just listen to the oohs and aahs. They’re not only from the children. Next year, we’ll build one even better.
There are as many different recipes for gingerbread dough as there are designs for houses. The one that follows came with a set of Bake ‘N Build cookie cutters. It’s a fragrant, easy-to-handle dough.

ALSO SEE: What are cute ways to decorate gingerbread houses? See 25 candy holiday homes
Gingerbread house dough recipe
1 cup granulated sugar
1/2 cup dark brown sugar, packed
3/4 cup shortening
1/2 cup dark brown molasses
2 teaspoons cinnamon
2 teaspoons ground ginger
1-1/2 teaspoons salt
1/2 teaspoon ground cloves
1 teaspoon baking powder
1/2 teaspoon baking soda
4-1/2 cups all-purpose flour
1 egg
1/3 cup water

Cream together both sugars and shortening. Add molasses, spices, baking powder and baking soda. Gradually add flour, then egg and water. Beat Atoll well blended and mixture begins to hold together. Gather dough into large ball. Chill dough for half hour to an hour until it is no longer sticky.
Roll out the dough on foil-lined cookie sheet with a lightly floured rolling pin. Or dough can be rolled out on parchment paper and later slipped ado cookie sheets. (If the house pieces are handled much before baking, their shape will become distorted.)
Roll out dough to 1/4-inch thickness, use cutters to make house pieces, removing excess dough. Bake in preheated 350-degree oven for 18 to 20 minutes, or until very crisp. Smaller pieces will be done earlier than larger pieces, so watch the gingerbread accordingly — or use separate cookie sheets for larger and smaller pieces.
Use up extra dough with additional cookie cutters. Try cutting out tree shapes or snowmen or other scenery to add to the gingerbread house landscaping. This recipe has enough dough for three small houses, plus a few cookies to spare.
DON’T MISS: 6 collections of sweet & spicy gingerbread recipes – the ultimate Christmas treat!

Royal icing recipe (modern style with meringue powder)
Using meringue powder instead of raw eggs is, from a perspective of food safety, the better way to go.
Since ingredients vary slightly, your best bet is to follow the package instructions for whatever meringue powder you buy. In general, the proportions look a little something like this:
3 tablespoons meringue powder
4 cups of sifted powdered sugar
6 tablespoons water
1 teaspoon vanilla or almond extract (if flavor not already in your meringue powder)
Whip mixture until stiff, resulting in a glossy and smooth icing that is perfect for making intricate designs.
If your meringue powder-based royal icing dries out at all, you can re-beat it to restore the correct texture, which isn’t possible for an egg blend.
Royal icing recipe (old-style with raw eggs)
3 egg whites, room temperature
3/4 teaspoon cream of tartar
1 pound powdered sugar
Combine ingredients in mixing bowl and mix on high speed for 7 to 10 minutes. Beat until very stiff. Store at room temperature, covered, when not in use. This icing dries quickly so be sure to keep it covered. Make only small batches, such as this amount, at a time.
Christmas Dream gingerbread house (1968)
Snuggled down in drift of snow, a Christmas dream house that you carn make, complete with chimney (for Santa’s descent) and door that’s ajar, all held together with a highly edible “cement” of sticky caramel. All takes a bit of time . . . but you need only two batches of old-fashioned gingerbread dough…

Vintage gingerbread house with gumdrops from 1971
The house Hansel and Gretel found: Somewhere in the midst of a gingerbread wood stands a wonderful gingerbread house, its snowy white frosting roof dripping deliciously with gumdrops. It looks good enough to eat, which is exactly what the wicked witch had in mind.

A gingerbread house photo gallery for more inspiration!


ALSO SEE: Classic 70s Christmas cookies: 20+ deliciously memorable recipes to try


2 Responses
Do you send e-mail messages so this site is not lost…what a GREAT site…
I grew up in the 60s and 70s and remember some of these crafts.
My mother kept many craft magazines through those years for inspiration.
In the 70s, recycling to reduce waste was the inspiration for saving paper tubes, cardboard, cans and glass bottles.
We were trying to throw away less and reuse more. It was the start of recycling centers at the local junk yards.