Christmas for kids: A Christmas tree you can make all by yourself
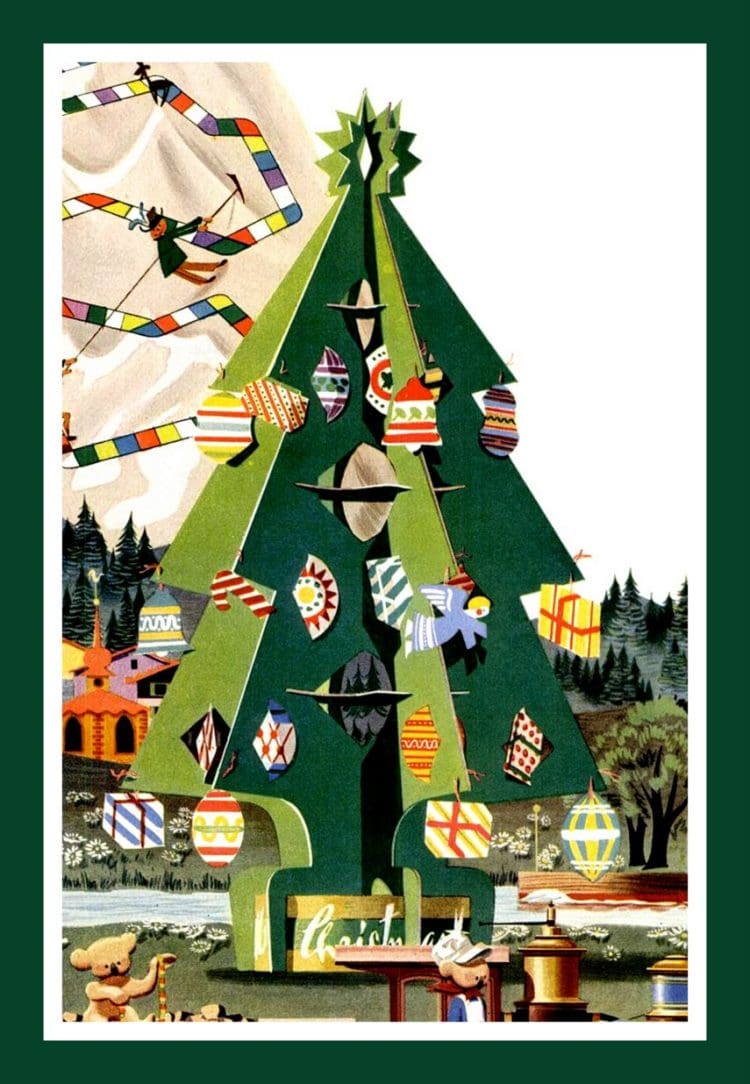
Here is a design for a Christmas tree that you can make at home. When it is finished, you can use it as a table centerpiece or a mantel decoration, hang it in an archway or from a ceiling fixture, or you can just play with it, which is really what it is for.

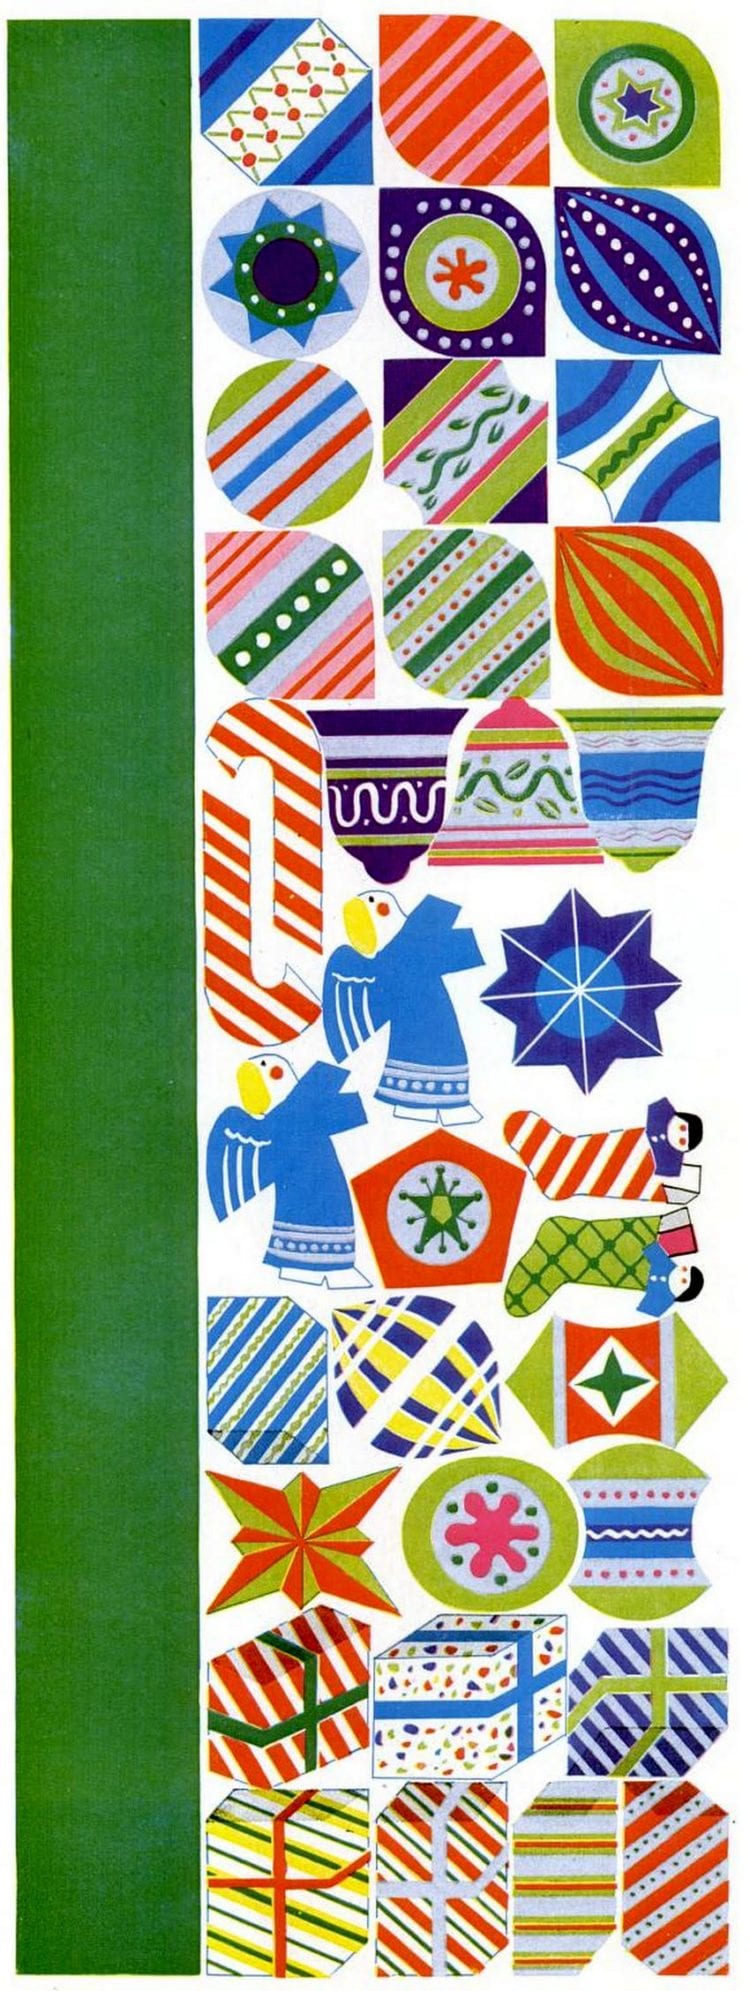
Directions are printed on the next page. Ornaments that can be cut out and fastened to the tree are at the right, together with a Merry Christmas strip, which can be bent into a ring to make a base for the tree, like the one in the picture above.
This tree was designed by Karl Koehler, a young man who designs and makes tricky folding Christmas cards for people like Nelson Rockefeller and Greer Carson. There is nothing particularly tricky about Mr. Koehler’s tree, but you will have to follow all the directions very carefully.
If there happens to be an older person in your house who thinks he knows just how everything should be done, it might be a good idea to let him help you make it. Then if anything goes wrong, it will be all his fault.

MORE FUN: Cute vintage Christmas decorations made with everyday items (1966)
HOW TO ASSEMBLE THIS CHRISMAS TREE CRAFT
In the designs on the following four pages, dotted white lines indicate position of folds, solid white lines indicate slits, white spaces indicate holes and notches.
Begin assembly by creasing tree sections A and B down the middle, as in picture 1 above (section B is half on opposite page, and half on fourth page of the pattern). Spread both sections flat again and place section A on section B with lettered sides face to face.
Next, take section C (see fourth page of pattern) in right hand and lightly bend together the left side of base (on which the letter C is printed) and lower left branch. Still holding branch and base together, pick up A and B sections with left hand.
Now insert section C into the bottom center holes of A and B as shown in picture 2. The center slit in section C will fit down over bases of A and B. New lightly bend together the next higher branch of section C and insert into the next higher holes in A and B.
Repeat this operation for the top branch of section C and for the star. Fan out the resulting six sections and hold tree upright.
Bend disk D (see fourth page) lightly and insert into bottom center hole of the tree as in picture 3. Six notches in edge of disk will make it fit into corresponding notches in the six tree sections. Repeat this operation with disk F in the middle hole and with disk E in the third hole.
To finish, turn tree upside down and insert slits in the Merry Christmas ring (preceding page) into the notches in the tree base, making a circular stand as shown in picture 4.
Hang the ornaments — look closely at the picture of the finished tree to see how this is done. For greater durability, tree may be reinforced with transparent tape at points of strain.

ALSO SEE: 25 ideas for Christmas door decorations from the 1950s: Be inspired by doors of yore!
The Christmas tree ornaments to print and cut out for this 1950s holiday craft project


The Christmas tree craft parts to print and cut out


NOW SEE THIS: How to make old-fashioned paper Christmas ornaments that are easy & inexpensive


